

Fundraising for Nonprofits: How to Get Your Bike to a Charity Ride
Plan how to bring your bike and ride-day essentials to a charity cycling event, from choosing transport to packing, checking your setup and getting home.
Fundraising for nonprofits can bring a team together around a shared ride, but first each rider needs a reliable way to get a bike and essentials to the start. The simplest plan is the one you test ahead of time: choose a transport method, secure the bike, protect the parts that can shift, and confirm how you and your equipment will get home.
Ask about getting ready for a Bike to the Beach ride
What should you decide before transporting a bike?
Start with the trip, not the rack. Note the distance to the event, when you need to arrive, where the bike can be unloaded, and whether you will travel alone or with a team. Then check the ride’s participant information for the exact start location, arrival timing, parking instructions, and any event-day bike-handling guidance. If you are joining a Bike to the Beach event, begin with the charity ride overview and follow the regional ride details relevant to your event.
Make a short list of what is traveling with you. That list may include the bike, helmet, shoes, water bottles, repair items, a change of clothes, identification, and any personal medication or accessibility items you need. Keep essentials you will need before unloading within reach. Do not assume that a bag attached to the bike will remain secure through a drive, a train journey, or a transfer between vehicles.
Also decide who is responsible for each step. A team can assign one person to check the route and parking, another to confirm bike transport, and each rider to pack and inspect their own equipment. A small shared checklist helps prevent a last-minute scramble without making the trip more complicated.
Which bike transport option fits your trip?
There is no single best way to bring a bike. The right option depends on your vehicle, travel distance, bike design, available storage, and how much time you have to assemble it. Compare the practical tradeoffs before committing.
| Option | Often useful when | Plan and check | Tradeoff to consider |
|---|---|---|---|
| Inside a vehicle | The bike fits safely with seats folded and there is room for riders and bags. | Protect the interior, prevent movement, and keep the driver’s view clear. | Wheels may need to come off; cargo space is limited. |
| Hitch-mounted rack | You have a compatible hitch and want convenient loading at the rear. | Check rack and vehicle limits, fit the bike as directed, and inspect lights and plate visibility. | May require a rack purchase or rental, and can affect access to the trunk. |
| Roof rack | You already have compatible roof equipment and can lift the bike securely. | Confirm the bike and rack fit, account for added height, and recheck every attachment. | Loading overhead can be difficult; garages and low clearances need extra attention. |
| Train or other public transport | Service and event locations make a car-free trip workable. | Review the carrier’s current bicycle rules, reservation needs, and station access. | Space, hours, transfers, and bike policies vary by operator and service. |
| Bike shipping or rental coordination | You are traveling a long distance or do not have a suitable vehicle setup. | Confirm delivery or pickup timing, packaging requirements, fit, and return arrangements. | It requires advance coordination and a backup plan if timing changes. |
Use the table as a starting point, not as a substitute for the instructions for your vehicle, rack, transit provider, or shipping service. Carrying capacity and bike policies differ. If you are uncertain whether a rack fits your vehicle or can carry your bike, ask the manufacturer or a qualified bike shop before travel.
How do you carry a bike inside a car?
First, check whether the bike can fit without forcing it into place. Some riders remove one or both wheels; others fold down seats or use a protective cover. Follow the bike maker’s instructions when removing a wheel, and keep any small parts together so they are easy to find at the destination. If the bike has a delicate frame or electronic components, use the care guidance provided for that model.
Put a clean cover or blanket beneath the bike if appropriate, then secure it so it cannot slide, tip, or strike passengers during a turn or sudden stop. Keep the bike and luggage away from the driver’s controls and field of view. Do not stack heavy bags on top of the frame, wheels, or components. Before leaving, push gently on the secured load to check for movement, and make sure every rider has a safe, usable seat and seat belt.
For a team traveling in one vehicle, test the layout before event morning. Load the bikes, helmets, and bags in the order you expect to use them. Confirm that the last bike in is not the first one that must come out. If the actual arrangement blocks access to a rider’s essential gear or leaves equipment unstable, change the plan rather than hoping it will work on the day.
What should you check on a bike rack?
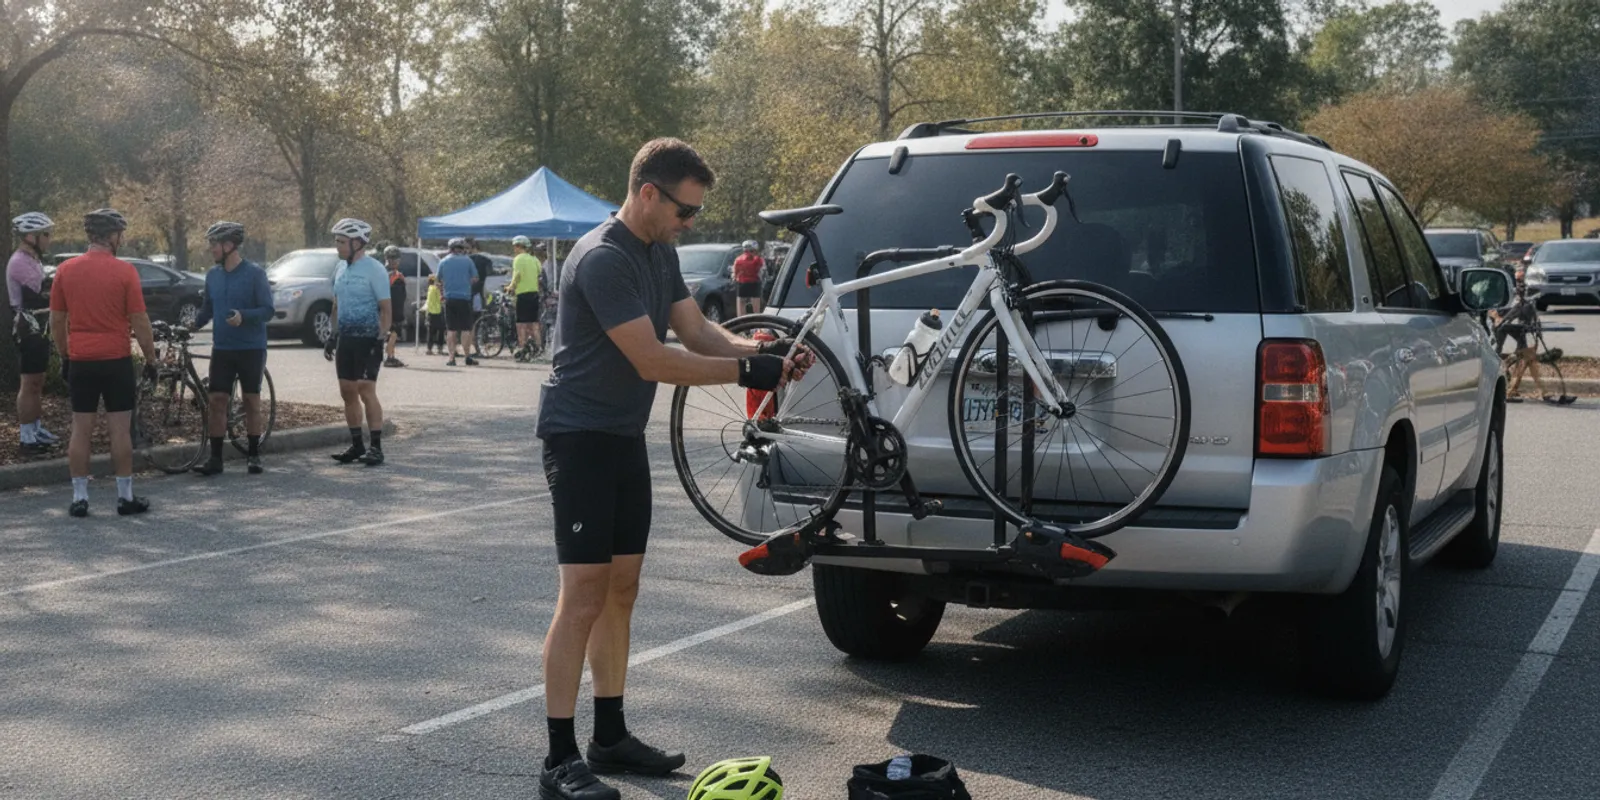
Read the rack’s instructions and confirm it is compatible with your vehicle and the kind of bike you are carrying. Use only the mounting points and straps specified by the manufacturer. Check that the rack is installed correctly before loading, and make sure the bike is secured at the points the instructions call for. A strap that is twisted, loose, or routed around a part not designed to hold it needs attention before driving.
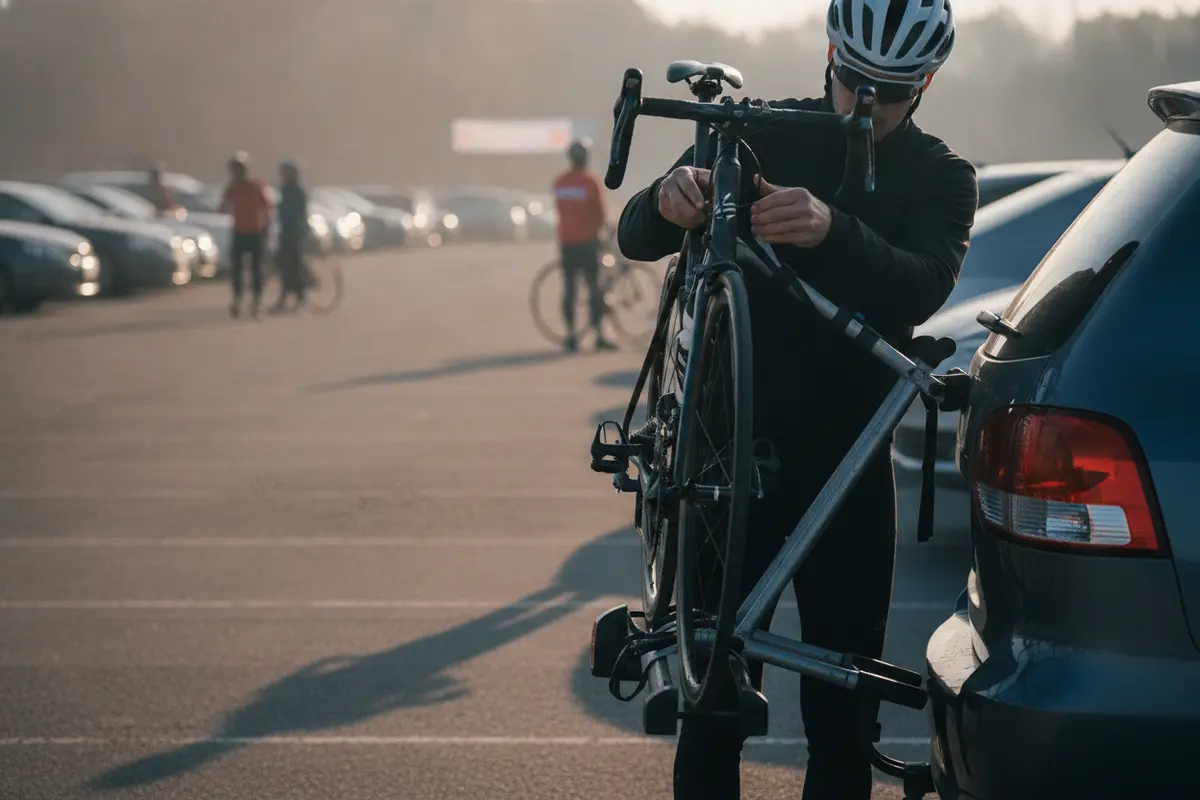
After loading, check that the bike cannot swing into the vehicle or another bike. Secure loose straps so they cannot flap or catch. Walk around the vehicle and check whether the rack or bikes obscure lights, reflectors, or the license plate; consult local requirements and your rack instructions if anything is covered. Test that doors or a hatch can close and that nothing is pressing against brake lines, cables, or fragile accessories.
Before setting off, take a short, low-speed check only where it is safe and permitted, then stop and inspect the setup again. Recheck during the trip when practical, especially after a long stretch, rough road, or weather change. For general vehicle and road-safety resources, see the National Highway Traffic Safety Administration; your vehicle and rack instructions remain the specific guides for your equipment.
How can you travel by train or ship a bike?
If you plan to use rail or another public transport service, check its current bicycle policy before you buy a ticket or set out. Rules may differ by route, vehicle, time, and bike type. Confirm whether bikes must be boxed, whether a reservation is needed, where bicycles are permitted, and how much time to allow for transfers. Check the stations at both ends too: a service may allow a bike while the approach to a platform or the final route to the ride start still needs planning.
For shipping, speak directly with the carrier or bike shop about packaging, pickup and delivery timing, what the service includes, and whether the bike must be boxed or partly disassembled. Read the instructions before packing and photograph the bike’s condition and the contents of the shipment for your own records. Keep pedals, axle parts, tools, or other small pieces in a labeled container rather than loose in the box. Ask how you will collect and reassemble the bike, and identify a nearby shop or a trusted helper if you are not comfortable doing the work yourself.
Rental can be another possibility on a longer trip. Bike to the Beach’s event information describes bike rental coordination through Unlimited Biking, but availability and arrangements depend on the event. Confirm current details with the ride team before relying on a rental, and make sure you know the pickup location, return process, and time needed to adjust the bike before the start.
What should go in your ride-day transport bag?
Pack for the trip to the event as well as the ride itself. Keep fragile items protected, and separate anything you will need before you have access to the bike. A useful packing list can include:
- Bike essentials: helmet, shoes, any required accessories, and the items you use for your own pre-ride check.
- Personal essentials: identification, phone, keys, payment method, and any personal medication or accessibility equipment you need.
- Comfort items: weather-appropriate layers, sunscreen, and a change of clothes for after the ride.
- Small repair items: the tools or spares you know how to use, packed so they do not damage other gear.
- Travel information: event instructions, route or arrival information, parking details, and contact information saved where you can reach it.
Follow the current ride’s participant guidance for what to bring and what is available along the route. Bike to the Beach rides provide support such as rest stops and mechanical assistance, but riders should check the details for their particular event rather than assume every service or location is identical. The fully supported ride guide explains the general idea of ride support, and the contact page is a route to ask event-specific questions.
How do you make the arrival and return plan work?
Work backward from the start time. Include time to park or reach the station, unload, assemble anything that came apart, adjust clothing, and find the correct check-in or start area. If you are using a bike rack, account for the time to remove the bike and secure the rack or vehicle. Leave a buffer for a missed turn, a slow unload, or a small adjustment. Confirm event-day instructions close to the date because locations and schedules can differ by region and year.
Plan the return before you leave home. Decide where the bike will go after the finish, who will drive, and whether the same rack or transit option is available for the trip back. If the return involves a different vehicle or a team handoff, identify the person responsible and confirm the time and meeting place. For a supported event with return transportation or bike transport, check what is offered for your specific ride and what you must arrange yourself.
Think through a simple backup. If a rack part is missing, a train connection changes, or a shipment is delayed, who can help and what is the alternative? A backup does not need to be elaborate: it may be a teammate who can take an extra bike, a nearby rental option you have already checked, or a contact number saved on your phone. Avoid relying on an unconfirmed solution on event morning.
How can a team coordinate bike transport?
For a corporate team, family group, or relay, make one shared transport plan and let each person own their personal gear. List each bike’s owner, its transport method, and who will load and unload it. Identify a captain or point person who has the latest event details, but do not make that person responsible for inspecting every rider’s bike. Each rider should check their own equipment and be ready to say if they need a different arrangement.
Teams can reduce confusion by agreeing on three details in advance: where bikes will be loaded, when everyone must be ready, and where the group will meet after arrival. Share the plan in a message that can be found quickly. If people are starting from different locations or riding different distances, do not assume that everyone will use the same arrival time or finish plan. Check the relevant cycling route information and event details as a group.
For a first long-distance event, travel planning is part of preparation, just like building comfort on the bike. A rider training for 50 miles can review the first 50-mile ride guide, while anyone planning a longer challenge can use the site’s 100-mile training guide. Those resources address the ride itself; event transport and arrival instructions should still be checked separately.
What if you need extra help with bike transport?
Ask early, and be specific. Explain which ride you plan to attend, where you are traveling from, what kind of bike you have, and what part of the transport plan is unclear. If you are traveling with a team, mention whether you need information about a shared arrival or return arrangement. That gives the event team a useful question to answer, rather than a last-minute request with missing context.
Bike to the Beach brings riders together for regional charity rides that support local autism and disability organizations. If you are deciding which event or participation path makes sense, the community page provides a starting point, and the regional event pages have current details. Riders attending New England can check the New England ride page; other participants should use the information for their own region. You can also explore post-ride recovery tips as you prepare for the trip home.
What should you check after unloading?
Give yourself time for a calm check before you join the start area. If you removed a wheel or packed the bike in pieces, reinstall it according to the bike maker’s instructions and verify that it is secure. Look over the tires and wheels, check that the brakes respond as expected, and make sure the handlebars and seat are in their intended positions. If anything feels loose, damaged, or unfamiliar, do not try to solve it while rushing toward the start; ask a qualified mechanic or event support staff what to do.
Take a short, careful test ride only in a permitted area with enough space, and pay attention to unusual rubbing, movement, or sounds. This is not a substitute for a proper inspection, but it can help you notice a problem before the event is underway. Keep tools and small parts together after reassembly, and put your transport cover or rack accessories somewhere you can retrieve them after the finish.
Before leaving the vehicle or station, run through a simple arrival check:
- Is the bike assembled and positioned as intended?
- Do you have your helmet, shoes, phone, keys, and personal essentials?
- Do you know where to go for check-in and where the ride begins?
- Are your bags and any vehicle or rack keys accounted for?
- Have you confirmed where to meet your group after the ride?
This last check is especially useful when several people share a vehicle. Each person can confirm their own gear while the group point person confirms the meeting plan. It turns a vague idea of readiness into a quick, practical handoff and leaves fewer details to remember once everyone is focused on the ride.
Get help planning your ride-day arrival
Frequently asked questions
Should I remove the wheels before transporting my bike?
Only if the transport method requires it or it helps the bike fit safely. Follow the bike and rack instructions, keep removed parts together, and allow time to reinstall and check the bike before the ride.
Can I bring my bike on a train?
That depends on the operator and the particular route. Check the current bicycle policy, reservation rules, packaging requirements, and station access before booking or traveling.
What is the safest way to carry a bike on a car?
Use a vehicle-compatible carrier or secure interior setup according to its instructions. Check that the bike cannot shift and that visibility, lights, and the license plate are not improperly obstructed. Ask the rack or vehicle maker when compatibility is unclear.
When should I confirm ride-day transport details?
Start planning as soon as you register or decide to attend, then recheck the current event information as the date approaches. Confirm the start location, arrival guidance, parking or transit details, and return arrangements before departure.
Can I rent a bike instead of transporting my own?
Possibly. Check the event’s current rental coordination information and confirm availability, location, timing, and return requirements directly before making travel plans.
Ready to plan your ride-day arrival?
Contact Bike to the Beach with your event transport question. With a tested bike setup, a realistic arrival buffer, and a return plan, you can focus more of your energy on the ride and the community behind it.