

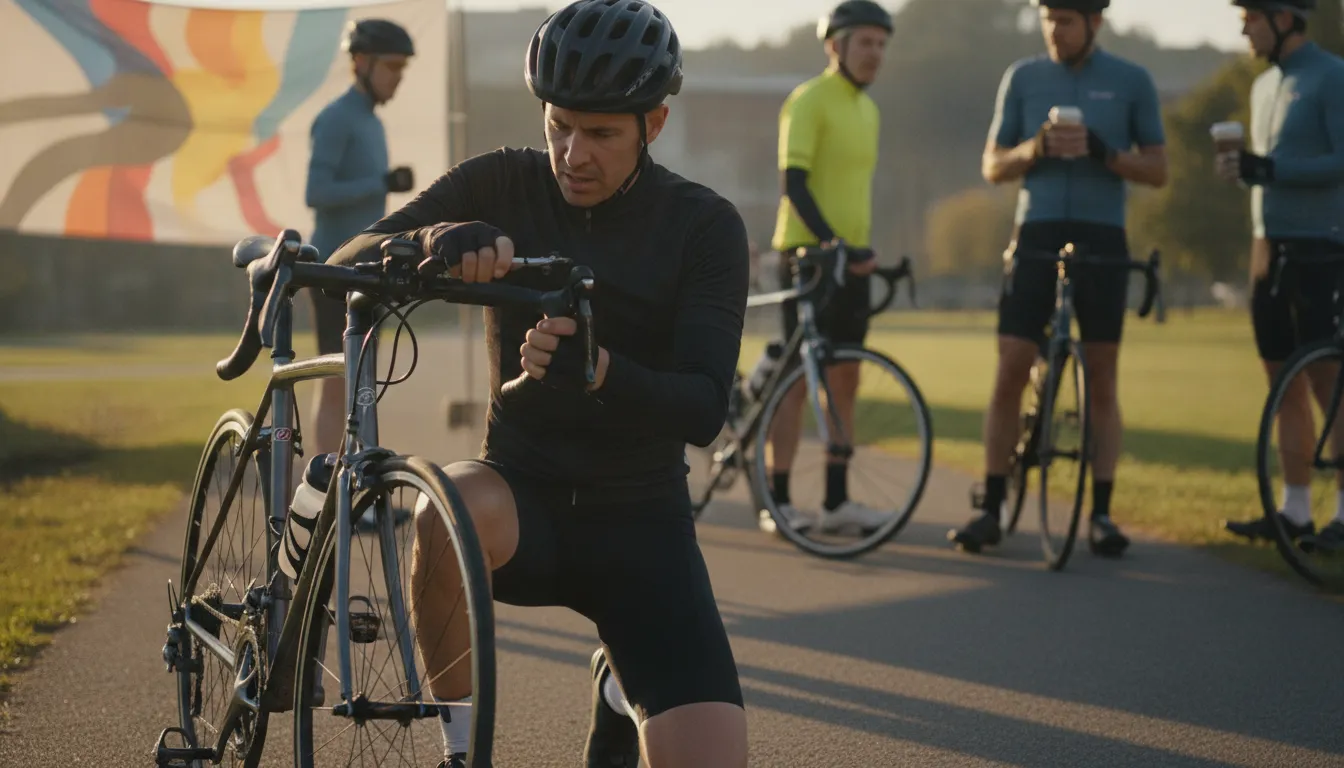
Bike Fit Essentials for a Comfortable Long Ride
Schedule a comfortable bike fit for your charity ride. Learn exactly how to set saddle height, handlebar reach, and cleat setup to ride 100 miles pain-free.
A sharp pain in your knee thirty miles into a ride can ruin an inspiring day. Adjusting your bike setup before you start is the simplest way to prevent these painful muscle strains.
A custom or DIY bike fit aligns your bike’s saddle, handlebars, and pedals with your body size to prevent muscle strain and improve comfort on long rides. By adjusting key areas like saddle height, handlebar reach, and foot placement, you can reduce soreness in your knees, shoulders, neck, and lower back on the road. According to clinical research published in PubMed, using precise data to guide these adjustments greatly reduces fatigue and helps you keep a natural, relaxed posture on your bicycle. Fitting your riding gear to your body size is the key to enjoying every mile, whether you ride a casual twenty-five miles or a long hundred-mile charity event.
If you want to ride for miles without pain or fatigue, you first need to understand how these small physical adjustments protect your body. Preparing your own equipment for a major event does not have to be complicated. Once you understand how these small adjustments protect your body, you can dial in your bike at home before a long event.
Register for your Bike to the Beach ride today
What a Bike Fit Is and Why It Matters on a Charity Ride
Preparing for a long ride is about more than just training your legs. It is also about making sure the bike matches your body. A bike fit adjusts your bike so you can ride with ease, safety, and power. Whether you ride a road bike vs hybrid bike, a proper setup is the key to a good day.
The core elements
Every person has a unique build, so a factory bike setup will rarely fit you well. A proper fit looks at how your body connects to the bike at three contact points: the pedals, the saddle, and the handlebars. By changing the height, angle, and reach of these parts, you can find a natural riding posture. A basic fit starts by setting your saddle height. You should have a slight, relaxed bend in your knee at the bottom of the pedal stroke.
Even tiny changes of just a fraction of an inch can make a big difference in how you feel. When your bike matches your size, you will use less energy to spin the pedals. This means you can ride faster and longer with less effort. It also keeps your joints in safe paths as you move, which prevents pain and long-term strain.
Why comfort is key
On a short ride around the block, a bad setup might only cause a mild ache. But when you are riding 25, 50, or 100 miles on a charity event, those small aches can turn into real pain. A study on 3D kinematic bike fits showed they cut pain and fatigue better than basic advice. When you get a proper fit, you protect your body from the constant stress of long-distance cycling.
Our events feature full ride support, with rest stops every 15 miles and SAG vehicles to help with any bike repairs. But even with a great support team, riding with a poor fit can drain your energy early. Proper setup gives you the strength to finish strong.
Comfort is not just for high-speed racers; it is a must for every rider on the course. A poor setup will make the last miles of a long ride feel like a chore. When you feel good on your bike, you can focus on the joy of the event. You can enjoy the rest stops, connect with other riders, and support a great cause without fighting your own gear.
How Do You Set Your Saddle for a Comfortable Bike Fit?
Your bicycle seat is the main contact point between your body and your frame. Adjusting this area first makes other bike fit adjustments much easier. When you set up your seat correctly, you protect your joints and save your energy for the road.
Scientific consensus on seat height
In cycling science, researchers agree that seat height is the most critical change you can make. A study on saddle height optimization shows a strong consensus on this setting. Other parts of the bike lack clear guidelines in scientific research. Setting this right protects you from knee pain. It also makes sure your muscles work well on long rides.
The role of fore-aft position
The fore-aft placement of your seat refers to how far forward or back it sits on the rails. This setting is just as key as height because it directly sets your upper body posture. According to published sports research, your saddle fore-aft position affects your hip angle and trunk angle. Adjusting this ensures that you do not lean too far forward or put too much weight on your hands.
Four simple steps for a basic fit
You can complete a basic fit at home with a few simple steps. Follow this guide to set your seat height and position for a smooth ride.
- Find your starting height. Sit on your bike and hold onto a wall. Place your heel on the pedal at its lowest point. Your leg should be completely straight.
- Check for a slight knee bend. Place the ball of your foot on the pedal and spin it to the bottom of the stroke. Your knee should have a slight bend of about 25 to 30 percent. This prevents joint strain and keeps your pedal stroke smooth.
- Adjust the fore-aft position. Spin the pedals until they are level with the ground. Drop a plumb line from the front of your kneecap. The line should fall directly over the center of the pedal spindle.
- Test your angle on a short ride. Ride your bike on a flat street and feel your hips. If your hips rock side to side as you pedal, your seat is too high. Make small adjustments until your hips are steady.
Once you set your seat height and fore-aft position, tighten your bolts firmly before you head out. These small shifts make a massive difference in how you feel over a long distance. A proper setup helps you ride with more comfort and ease.
How Do You Set Handlebar Reach and Height for Good Balance?
How you set your handlebars determines how much weight rests on your hands. A good bike fit spreads your weight evenly between your saddle, pedals, and bars. Leaning too far forward puts too much load on your arms and palms. Too much pressure on your hands is a clear sign to change your reach.
Why Your Reach and Hand Position Matter
You can make some bike fit adjustments to fix this issue. A study on cycling posture showed that saddle fore-aft position directly affects both hip and trunk angles. Changing your seat position can make a big difference in how your upper body drapes over the bike. This helps you find a comfortable reach without straining your lower back.
Relieving Neck and Shoulder Tension
When you ride a bike, your arms should act like shock absorbers. Keep a relaxed bend in your elbows instead of locking your arms. Locking your elbows transfers road vibration straight to your neck and shoulders, causing tension and soreness. Bent elbows can absorb bumps in the road and keep your upper body loose.
If your handlebars are too low, you have to crane your neck to see the road, putting stress on your neck muscles. Raising your handlebars can give you quick relief. You can also try a shorter stem to bring the bars closer to you. These simple steps can make your ride much more fun and help you avoid pain.
Finding Your Best Handlebar Height
Getting your handlebar height right is key for a balanced stance. If your bars are too high, you will sit too upright, putting too much weight on your saddle. If your bars are too low, your back will bend too much. You want to find the sweet spot where you feel comfortable and steady.
You should test different heights on short rides before you tackle a long charity event. Start with your bars even with your saddle height, raising them slightly for more comfort. Make sure you can reach the brakes easily and shift gears without stretching your fingers. A proper setup will keep you riding strong and smiling all day.
How Do You Set Up Your Cleats for Knee Comfort?
Your feet connect you to your bike. If you use clip-in shoes, how you set up your cleats can make or break your ride. A proper bike fit adjustments process must include cleat setup. When your cleats are in the wrong spot, every pedal stroke can strain your joints. This can lead to pain in your knees, hips, or feet during a long ride.
The Ball of the Foot
The goal is to align the ball of your foot over the center of the pedal. To find this spot, put your shoes on and feel for the bony bump on the inside of your foot. Mark this spot on the side of your shoe. Next, find the bump on the outside of your foot behind your little toe and mark it too. Your cleat should sit right between these two marks.
This spot is called the pedal spindle or axle. Putting the cleat here helps you push down with full power. It also spreads the force across your foot. This stops your calves from getting tired too quickly on long routes like our 100-mile rides. If the cleat is too far forward, you will use too much calf muscle. If it is too far back, you might feel a loss of power.
Knee Pain and Cleat Angle
Your cleats also need the right side-to-side angle. Your feet have a natural way they like to point. Some people walk with their toes pointing straight, while others point slightly in or out. Your cleats must match this normal angle. If they force your feet into a straight line when they want to twist, your knees will suffer.
Setting your cleats is a key way to protect your joints from strain. An expert bike fit session can measure your knee path and set the exact angle you need. Research shows that proper bike fitting is highly helpful for reducing riding pain, mostly in the back and groin. It also helps align your knee so that it tracks straight up and down. This prevents the side-to-side wobble that causes sharp knee pain after miles on the road.
Testing Your Fit
Once you set your cleats, go for a short spin. Do not start with a long ride. Pedal with light force and listen to your body. If you feel any hot spots under your foot, or a dull ache in your knee, stop and adjust. Small shifts of just a tiny bit can make a big change in your comfort. Taking the time to dial in your cleats ensures you can enjoy your ride and cross the finish line pain-free.
How a Proper Bike Fit Prevents Pain on Long Rides
Riding a bike for hours is a great test of your body. If your setup is wrong, your body will feel it. A custom bike fit helps you ride with less stress. This prevents small aches from turning into major injuries.
Relief for back and groin pain
Long rides can strain your back if your seat is too high or too low. In fact, lower back pain is the most common overuse complaint among cyclists. This problem is often linked to a poor bicycle setup. When you adjust your saddle and handlebar height, you take the pressure off your spine.
Getting an expert bike fit lowers pain during and after your ride. Studies show that a proper setup brings the biggest pain relief to your back and groin. When you sit in the right spot, you do not have to stretch or hunch over. This helps you keep a relaxed posture as you pedal.
Hand and groin numbness
Numbness is another common problem that a good bike fit can prevent. If you lean too far forward, you put too much weight on your hands. This can pinch the nerves in your wrists and make your fingers feel numb. To fix this, you can raise your handlebars.
You can also look at a road bike vs hybrid bike to find the best style for your posture. Pressure on your seat can also cause groin numbness. If your saddle is tilted up too much, it presses on vital nerves and blood vessels. Keeping your saddle level is the best way to keep your blood flowing.
Comfort on charity rides
If you are training for a 25-mile to 100-mile charity ride, a proper fit is vital. On a long day of riding, you will pedal thousands of times. Even a tiny mismatch in your setup can lead to major pain by the end of the day. A good fit ensures you can enjoy the community and support along the route.
Our events offer rest stops every 15 miles and full SAG vehicle support to keep you safe. But staying pain-free on the road starts before you line up at the start. Working on your bike fit for long distance comfort is the best way to prepare. It will help you cross the finish line with a smile on your face.
DIY Bike Fit vs. Professional Bike Fit: Which Is Right for You
Getting ready for a long ride means making sure your gear is set. You can adjust your bike at home, or you can pay an expert to do it. Both paths have clear benefits. Your choice depends on your budget, your goals, and how much pain you feel during long rides.
Benefits of a home setup
An at-home bike fit is great for riders who want to make quick tweaks. You do not need special tools to start. You can make simple bike fit adjustments in your own garage by raising your seat or moving it forward. This way is free, and it helps you learn how your bike works.
But a DIY approach has some limits. It relies on how you feel, which can be hard to judge. You might fix a sore knee but cause a stiff neck by mistake. If you plan to ride a long way, minor errors at home can turn into real pain on the road.
Value of a professional analysis
A professional bike fit uses advanced tools to measure your body in motion. A pro will use cameras to track your joint angles while you pedal. This 3D kinematic assessment is proven to boost riding comfort and reduce fatigue much better than simple verbal advice. If you want to ride a century, this service is often worth the cost.
A pro fitter looks at how you move, past aches, and your goals. They will adjust your cleats, handlebars, and saddle to match your body. While a pro fit costs more up front, it can save you from joint pain during long training rides.
How to choose your path
How do you decide which option is right for you? If you are new to cycling and plan to ride a short distance, a DIY fit is a great first step. You can test your comfort on local roads.
But if you are training for a 100-mile ride or have joint pain, paying for a pro bike fit can save your event. Check our guide on road bike vs hybrid bike choices to match your gear to your fitting needs.
| Option | What it costs the rider | What it covers | Best for |
|---|---|---|---|
| DIY Fit | Free | Basic seat and handlebar tweaks | Beginners and short casual rides |
| Standard Pro Fit | About $150 to $250 | Manual body measures and static angles | Riders tackling a 50-mile event |
| Advanced 3D Fit | About $300 to $450 | 3D motion capture and dynamic tracking | Century riders and those with chronic pain |
How Do You Prepare Your Bike Fit for a 100-Mile Charity Ride?
Getting ready for a long ride means getting your body and your gear in top shape. A bad setup can lead to pain and strain over long distances. To feel your best on event day, you should check your bike fit and make sure everything is set up well ahead of time.
Pre-ride fit changes for long distances
You should do a fit check weeks before the ride. This gives you time to test your bike setup on your training rides. If you are starting out, use our 8-week beginner training plan to build your miles and test your setup. Small changes can prevent back pain. Indeed, a study on cycling injuries shows that lower back pain is a common overuse complaint from a bad setup.
If you are riding 100 miles, every small detail of your bike fit matters. You want to make sure your saddle height, reach, and cleats are set right to avoid strain. Our 100-mile bike ride training guide can help you spot and fix these fit issues early.
Tire pressure and riding comfort
Comfort on a long ride is not just about your seat or handlebars. Keeping the right tire pressure is the simplest way to smooth out your ride. It helps reduce road buzz, which saves your muscles from getting tired over a long day. You should check your tire pressure before you head out as part of your pre-ride routine.
Along with checking your tires, your pre-ride plan should cover gear and safety. Combining a proper bike fit and maintenance check ensures your bike is safe. This simple routine keeps your gears shifting smooth and your brakes working well when you hit the road.
Fully supported rides for peace of mind
You do not need to be a pro to ride with us. Bike to the Beach offers fully supported rides with distances of 25, 50, 62, 70, and 100 miles. We have rest stops every 15 miles to keep you fueled and hydrated. Our events also provide SAG vehicles and mechanical support so you can ride with peace of mind.
If you do not own a road bike, you can still join the fun. You can rent a ride through our partner, Unlimited Biking, and get a pre-ride fit check on-site. Taking care of your bike fit ensures you can focus on the community, the fun, and the local impact of your ride.
Secure your spot for your charity ride
Frequently Asked Questions
Is a bike fit worth the money?
Yes, a bike fit is highly valuable if you plan to ride long distances. A study in PubMed shows that a professional fit reduces riding pain and fatigue far better than simple advice. The research found that a proper fit offers the largest drop in back and groin pain. This added comfort helps you ride longer and finish your charity event safely.
How often should you get a bike fit?
You should get a bike fit when you buy a new bike, change your cleats, or feel ongoing pain. It is also smart to get a fit if you plan to raise your weekly riding distance. If you are training for a long charity ride, a quick checkup ensures your body can handle the extra work. Your fitness and movement change over time, so a yearly check is a wise habit.
Can I do a basic bike fit at home?
Yes, you can make basic changes at home to start. You can set your saddle height so your knee has a slight bend at the bottom of the stroke. However, lower back pain is a common issue that a study in PubMed links to poor bike setup. For long rides, an expert fit is the best way to prevent injury.
Get Your Bike Fit Right and Ride With Confidence
You have done the work: the saddle is set, the handlebars sit where they should, and your cleats are dialed in. Now comes the best part. A comfortable bike fit is what turns a long day in the saddle into a ride you will actually enjoy, mile after mile.
At Bike to the Beach, our fully supported charity rides welcome riders of every level, from casual 25-mile participants to seasoned 100-mile century riders. With rest stops along the way, SAG support, and mechanical help on every route, you can focus on the ride, the community, and the cause. When your bike fits right, you can show up ready for anything.