

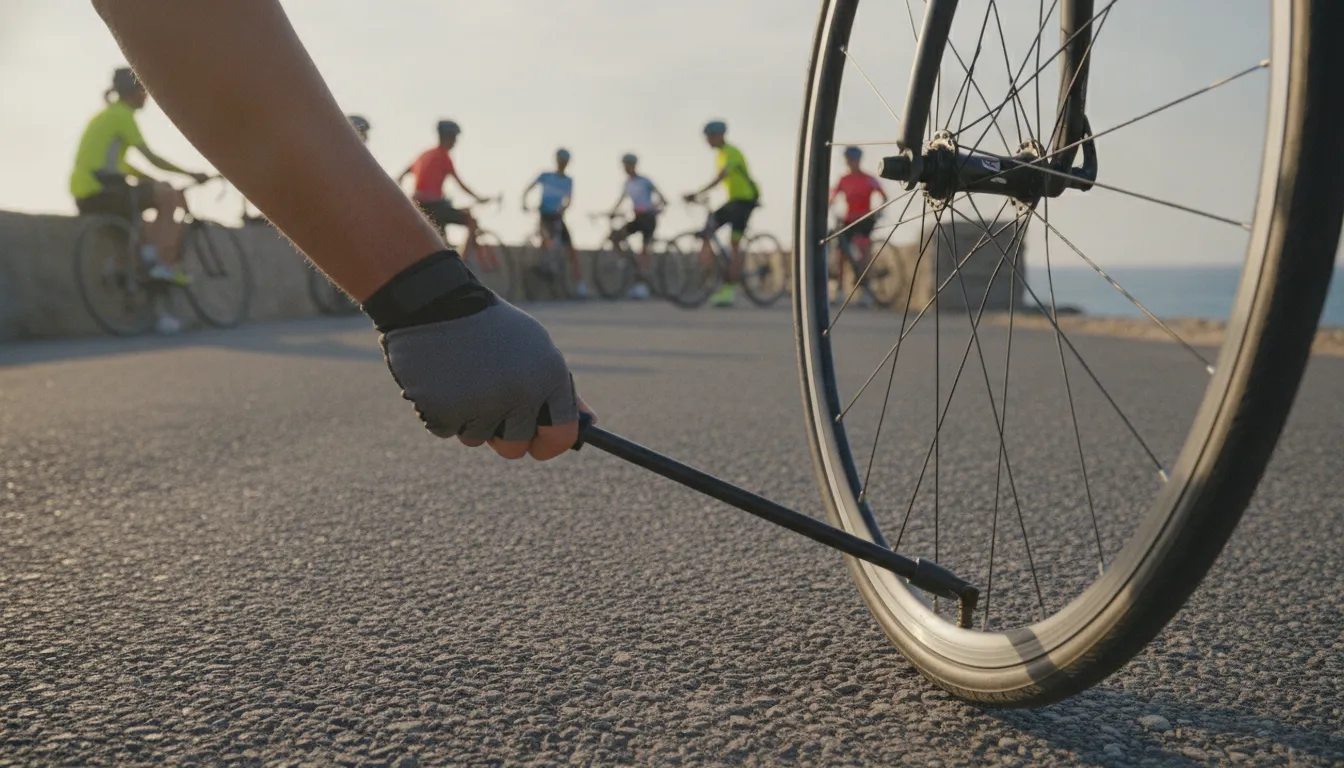
Charity Bike Ride Bike Maintenance: A Complete Pre-Ride Guide
Get a charity bike ride bike maintenance guide with the ABC Quick Check, common repairs, and ride-day support. Prepare your bike and ride with confidence at...

You do not need to be a professional mechanic to prepare your bike for a charity ride. A few simple checks before each ride can help you spot low tire pressure, weak brakes, or a dry chain before they become distractions on the road. Give yourself extra time before event day, especially if your bike has been stored or you have not ridden for several months.
Charity bike ride bike maintenance starts with an ABC Quick Check: confirm your Air pressure, test your Brakes, and inspect your Chain. Keep a few basic tools with you, and use the ride’s on-route mechanical support when an issue is beyond a quick adjustment.
That preparation is practical, not complicated. It also gives you more confidence to focus on the miles ahead and the local autism and disABILITIES partners your ride supports. Start with the quick inspection that should become part of every pre-ride routine.
Charity Bike Ride Bike Maintenance: The ABC Quick Check
Before a 50- to 100-mile charity ride, take a few minutes to inspect the parts that keep your bike rolling, stopping, and connected. The ABC Quick Check is a simple routine recommended before every ride, and it does not require mechanic-level knowledge. Work through each letter before you leave, then address anything that feels loose, damaged, or unusual.
Air: Check both tires for adequate pressure and visible damage, including cuts, bulges, or tread that looks unusually worn. The correct pressure is typically printed on the tire sidewall, so you do not have to guess. Properly inflated tires help your bike handle predictably over many hours and reduce the chance that a small road hazard becomes a ride-ending problem. Do not rely only on squeezing the tire. A practical habit is to check pressure with a gauge at least once a week, and always check it again before a long event. NHTSA’s pre-ride bicycle check provides additional tire guidance.
Brakes: Squeeze each brake handle before you start. The brakes should engage firmly and slow the bike when you roll it forward. Look at the brake pads for excessive wear, and check that cables are not loose or damaged. This matters even more on a long charity ride, where repeated stops, descents, and crowded rest areas can put steady demands on your braking system. If a brake handle pulls all the way to the bar, feels unusually soft. Or does not stop the bike confidently, ask a bike shop or event mechanic to inspect it before riding.
Chain: Shift through a few gears while turning the pedals gently. The chain should move freely, sit securely, and look clean, lubricated, and free of rust. A neglected chain can make shifting rough and waste effort over the course of a long ride. Listen for grinding or skipping, especially when changing gears under light pressure. Wipe away excess grime and apply the lubricant recommended for your conditions, or have a professional handle it if you are unsure.
Quick Release: Check the levers that secure your wheels and, if applicable, your seat post. Each lever should be fully closed and firmly secured, not dangling open or resting loosely against the frame. Give the wheel a gentle side-to-side check. It should sit straight and feel secure. You do not need to force anything or dismantle the bike. If you are uncertain whether a lever is properly closed, ask a mechanic or experienced rider before setting out. For more guidance, review Bike to the Beach’s route navigation and bike maintenance resources.
Common Bike Issues on a Charity Ride and How to Handle Them
Most ride-day bike problems are manageable when you know what to look for and carry a few basic tools. A flat tire is the issue riders encounter most often, but a slipping chain or stubborn shifting can also interrupt a good stretch of riding. Stay calm, move fully off the roadway, and give yourself time to troubleshoot rather than trying to diagnose a problem while coasting in traffic.
Carry a small repair kit
Pack the essentials where you can reach them without unpacking your entire bag: a spare tube, tire levers, a mini pump or CO2 inflator, and a bicycle multi-tool. A patch kit is useful as a backup, especially on a longer route. Basic preparation matters because a multi-tool and tire repair kit can help riders address common roadside problems, including flats. Review the charity ride essentials packing checklist before event day, and practice using each item at home.
How to fix a flat tire
Before removing the wheel, shift to a safe location and check whether the tire is completely flat or simply losing pressure. If you have a quick-release axle, release it according to your bike’s setup. Then work through these steps:
- Remove the wheel if necessary, and use a tire lever to lift one side of the tire bead over the rim. Avoid using a screwdriver, which can damage the tube or rim.
- Pull out the tube and inspect the tire for the cause of the puncture, such as glass, a thorn, or a sharp piece of debris. Carefully run your fingers along the inside only after checking for hazards.
- Install the spare tube, adding a small amount of air first so it takes shape. Tuck the tube inside the tire and work the bead back onto the rim by hand.
- Inflate the tire with your mini pump or CO2 inflator. Check that the tube is not pinched and that the tire sits evenly before riding away.
Address chain and shifting problems early
If the chain skips, drops, or refuses to move cleanly between gears, stop pedaling hard. Shift gently while turning the cranks and check whether the chain has fallen off the front chainring or rear cassette. A multi-tool can help with minor adjustments, but avoid forcing a stuck derailleur. A rusty or dirty chain can drag, shift poorly, and even snap, according to NHTSA bicycle safety guidance. Clean and lubricate the chain before the ride, and ask event mechanical support for help if the issue does not resolve quickly. A short pause is better than turning a small adjustment into a damaged drivetrain.
When to Take Your Bike to a Professional
You do not need to be a trained mechanic to prepare for a long ride. You do need to recognize when a quick home check is no longer enough. If your bike has been sitting for several months. The City of Little Rock recommends taking it to a local bike shop for an inspection before a long ride. That is especially smart before a charity ride, when dependable equipment helps you stay comfortable, focused, and connected with the group.
Signs your bike needs expert attention
Schedule a professional inspection if you notice brake pads that look thin, braking that feels weak, or cables that are frayed, loose, or slow to respond. A mechanic should also evaluate a wheel that wobbles, rubs against the brake, or has loose spokes. These issues can indicate that the wheel needs to be trued or otherwise adjusted.
Pay attention to the drivetrain, too. Persistent clicking, grinding, skipping, or difficulty shifting can point to cable stretch, worn components, or an adjustment problem. A dirty or rusty chain may shift poorly and can even snap under load. If the noise continues after basic cleaning and lubrication, let a professional diagnose it rather than waiting for the problem to appear mid-ride.
What a pre-season tune-up usually includes
A standard tune-up typically begins with a safety inspection, followed by adjustments to the brakes and gears. The mechanic may clean and lubricate the drivetrain, check the chain and cassette for wear. Inspect and inflate the tires, tighten fasteners, and check the wheels, headset, bottom bracket, and bearings. Depending on the bike’s condition, the shop may recommend replacing worn brake pads, cables, tires, or other parts before the event.
Book the appointment early enough to allow for parts and a short test ride after service. Bring up any symptoms you have noticed, including noises that come and go. For riders preparing your bike for the DC to Dewey Beach ride, a professional check is practical planning, not a reflection of skill. Good bike maintenance includes knowing when experienced help is the safest choice.
Ride Day Support: What Bike to the Beach Provides
You do not need to be an expert mechanic to participate in a Bike to the Beach ride. Basic preparation still matters, but you are not expected to solve every mechanical problem alone on the shoulder of the road. Unlike a DIY ride, Bike to the Beach provides professional mechanical support and SAG vehicles on every ride, so help is available when an issue interrupts your day.
If you have a flat, a shifting problem, or another mechanical concern, alert the ride team rather than trying to push through it. On-route support is there to help you address the problem safely and get back on the road when possible. That reassurance can make a meaningful difference for first-time riders, especially those who are comfortable riding but less confident with repairs.
The support system extends beyond mechanical assistance. Rest stops are available every 15 miles, giving riders regular opportunities to pause, refuel, and check in with their bodies and equipment. Bike to the Beach also partners with Moto Medx for medical support. Together, these resources create a ride environment where participants can focus on the experience, their teammates, and the local autism and disability organizations the event supports.
| Feature | DIY Ride | Bike to the Beach |
|---|---|---|
| Mechanical support | Self-reliant on the road | Professional mechanics and SAG vehicles on every ride |
| Rest stops | Plan and coordinate your own | Staffed rest stops every 15 miles |
| Medical coverage | Must arrange independently | Moto Medx partnership on route |
| Route navigation | Self-navigate with personal device | Ride with GPS official route support |
| Bike rental | Transport your own bike | Unlimited Biking rental coordination |
Navigation is supported through Ride with GPS, the official navigation technology for the rides. If you need a bike rather than bringing your own, rental coordination is available through Unlimited Biking. These options help make the event more accessible to casual cyclists and people who are traveling to participate.
Good charity bike ride safety tips include checking your bike before the start, carrying the essentials recommended by the event team, and knowing how to request help. You should still complete your pre-ride checks and arrive prepared, but you can ride with the confidence that support remains part of the course. The goal is not to eliminate the challenge. It is to ensure a mechanical issue does not leave a prepared rider stranded.
Post-Ride Bike Maintenance Tips
After a long ride, give your bike a few minutes of attention before putting it away. Road grit, dust, sweat, and moisture can settle into the drivetrain and other moving parts. A quick cleanup helps you spot small problems while they are still inexpensive to fix. And it can extend the useful life of your chain, cassette, cables, and brake components.
Clean the drivetrain first
Use a clean, damp cloth to wipe the frame, fork, wheels, and contact points. Pay special attention to the chain, chainrings, cassette, and derailleur pulleys. A soft brush can loosen dirt from the drivetrain without forcing debris deeper into the components. Avoid blasting bearings or seals with high-pressure water. Shimano recommends treating maintenance as a regular part of bike care and consulting a qualified dealer or mechanic when service needs go beyond basic upkeep.
Lubricate the chain after cleaning
Once the chain is clean and dry, apply a small amount of bicycle-specific chain lubricant to the rollers while turning the cranks backward. Let it settle briefly, then wipe away the excess. Too much lubricant attracts more grit. A clean, lightly lubricated chain generally shifts more smoothly than one covered in old oil and road debris.
Inspect wear before storing your bike
Look closely at both tires for cuts, cracks, or glass and other debris embedded in the tread. Check the brake pads for uneven wear and make sure the wheels still spin without obvious rubbing. If you hear new drivetrain noise, notice a slipping chain, or find damage you cannot identify, schedule a shop inspection rather than guessing.
Store the bike in a dry, sheltered space, ideally with the tires properly inflated and the chain in a relaxed gear. Keep it away from standing water and corrosive chemicals. For your next event, pair this simple maintenance routine with cycling nutrition for long rides so your equipment and your body are both ready for the miles ahead.
Frequently Asked Questions
What is the ABC Quick Check?
The ABC Quick Check is a short inspection to complete before every ride. Check Air by confirming tire pressure and tread, Brakes by testing the levers and looking for worn pads or loose cables. And Chain by making sure it is clean, lubricated, rust-free, and moving freely. The City of Little Rock recommends this pre-ride check as a basic bicycle safety step: ABC Quick Check guidance.
How often should I check my bike’s tire pressure?
Use a pressure gauge at least once a week, and check again before a long ride or charity event. Use the recommended pressure printed on your tire sidewall, then inspect for cuts, embedded debris, or unusual wear. A quick pressure check is more reliable than judging a tire by hand alone.
Do I need to be a mechanic to participate in a charity ride?
No. You should know how to perform a basic ABC Quick Check and carry simple supplies, such as a pump, tire repair kit, and multi-tool. If you have not ridden for several months, have a local bike shop inspect the bike before a long ride, as recommended by the City of Little Rock. You do not need to diagnose every repair yourself.
What should I do if I get a flat tire during the ride?
Move safely off the riding line, notify a ride support volunteer, and use your pump and repair kit if you are comfortable doing so. Bike to the Beach rides include professional mechanical support and SAG vehicles, so riders can request help rather than attempting an unfamiliar repair roadside. Rest stops are available every 15 miles, providing another opportunity to check your bike and regroup.
Ready to Get Started?
A few simple maintenance checks can help you feel more prepared and focus on the ride, the community, and the cause you are supporting. When your bike is ready, get started by registering for a Bike to the Beach charity ride. Choose the ride that fits your goals, prepare at your own pace, and join fellow riders for a meaningful day on the road.