

Bike Maintenance for a Charity Ride: What to Check Before You Roll
Use this practical bike maintenance checklist to check your bike before a charity ride, spot common issues, and know when to ask a mechanic for help.
Bike maintenance does not have to mean a full workshop overhaul before every ride. A few repeatable checks can help you catch obvious problems early, ride more confidently, and know when a mechanic should take a closer look. Before a charity ride, make time for a tire, brake, chain, and wheel check; do not save the first inspection for the start line.
Register for the DMV charity ride
What should you check before every ride?
Start with a short walk-around while the bike is on level ground. Look for damage, loose parts, or anything that changed since your last ride. This is a screening routine, not a substitute for a full service. If you are unsure whether a part is safe, pause and ask a qualified mechanic rather than trying to diagnose it on the road.
- Tires: Look for cuts, embedded glass, bulges, or worn tread. Inflate to a pressure within the range printed on the tire sidewall, using the bicycle and conditions as context.
- Wheels: Confirm each wheel is seated securely and its axle or quick-release is closed correctly. Spin the wheel and look for rubbing or a pronounced side-to-side wobble.
- Brakes: Squeeze each lever. It should feel firm and engage before reaching the handlebar. Check that pads meet the rim or rotor as intended and that no part is visibly loose.
- Chain and gears: Look for a dry, rusty, dirty, or damaged chain. Shift gently while turning the pedals and listen for repeated skipping or grinding.
- Contact points and accessories: Check that the saddle, handlebars, pedals, bottle cages, and bags are secure. Avoid overtightening; follow the maker’s torque guidance when available.
Do not ride if a part is cracked, a brake is unreliable, a wheel will not stay secure, or steering feels abnormal. A short inspection can identify a reason to stop, but it cannot certify a bicycle as safe.
How do you check tires and wheels?
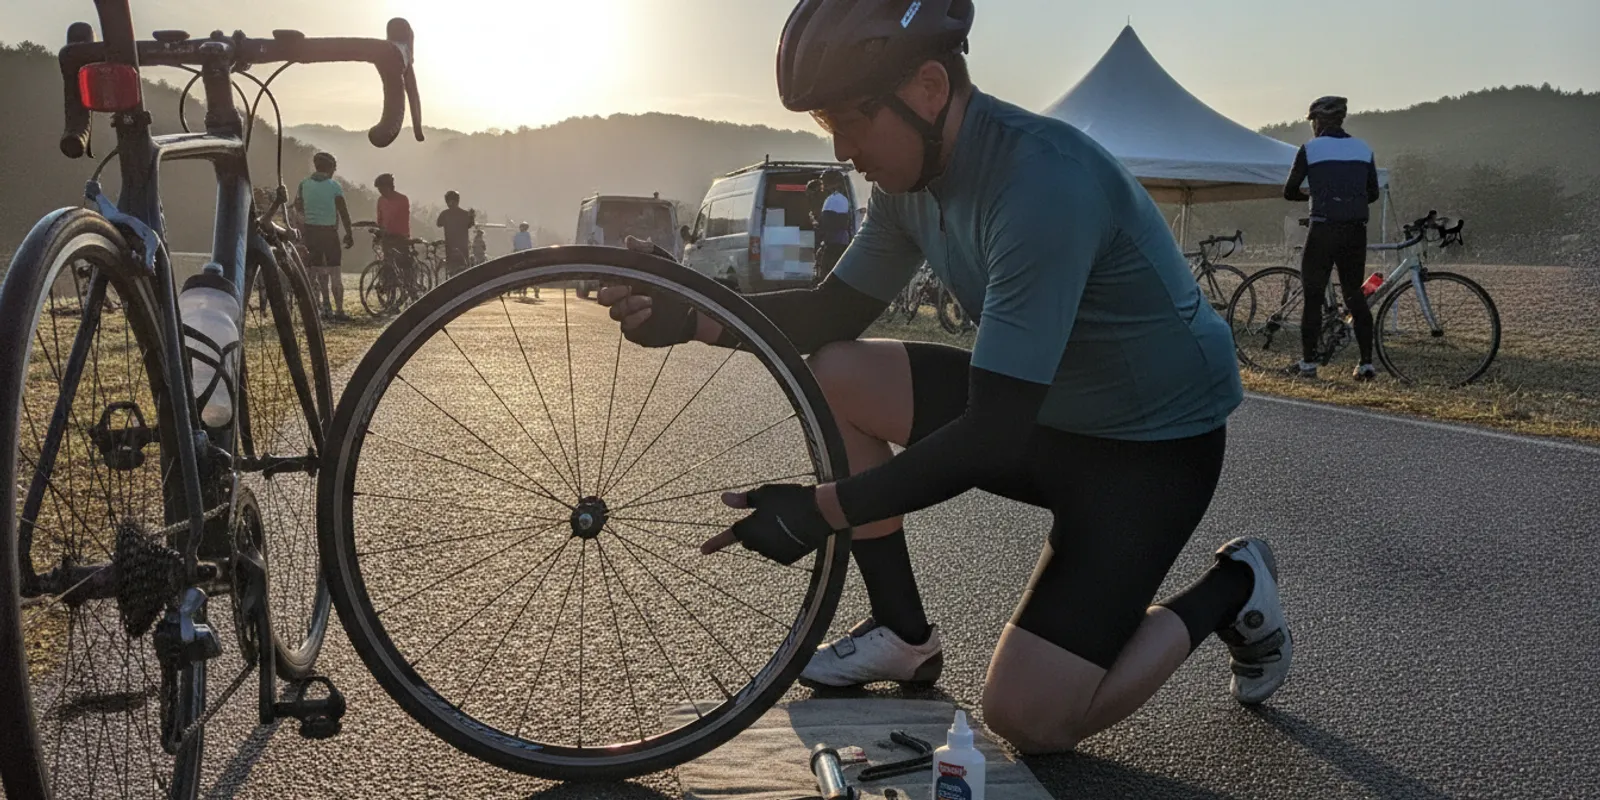
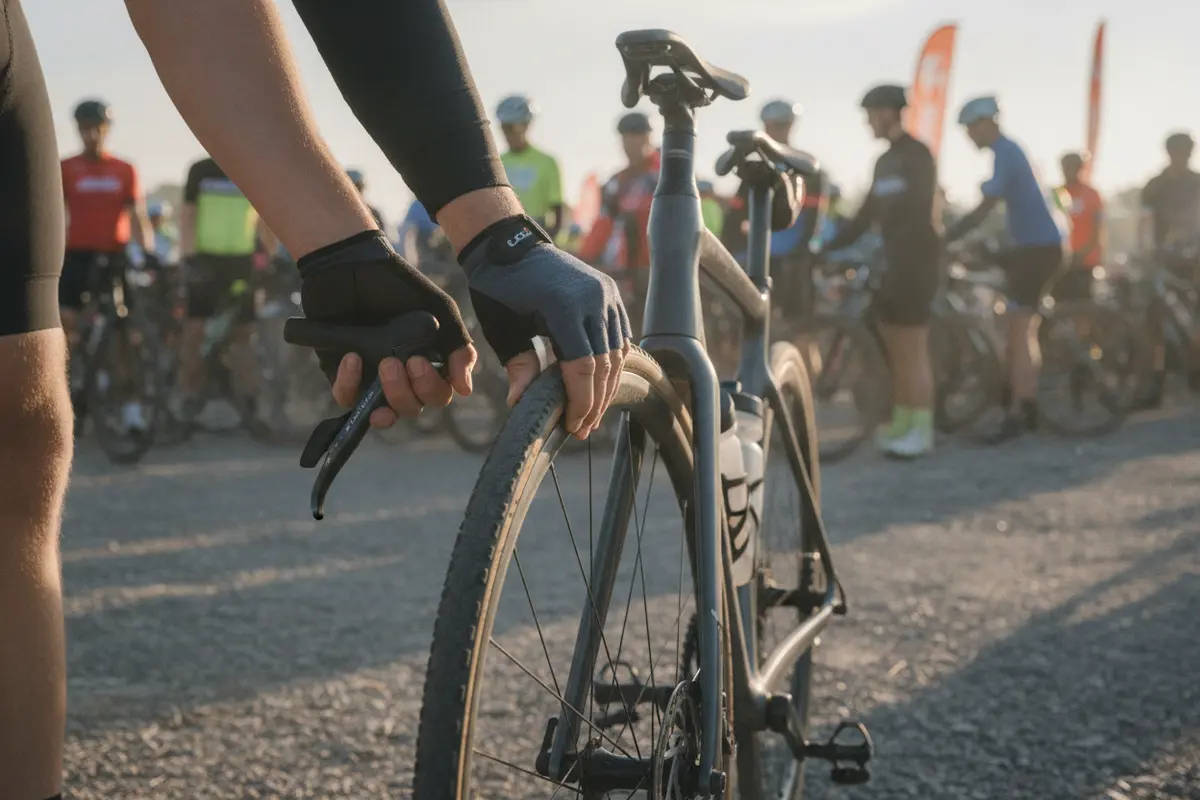
Tires are your contact with the road, so examine the full surface. Rotate each wheel slowly and look for cuts, bulges, exposed casing, or debris. Remove a loose piece only if it comes away easily. Do not dig into the tire or ride on one with structural damage. If the same tire repeatedly loses pressure, find the cause before setting out.
Use a pump with a gauge when possible. The sidewall range is a boundary, not a single setting that suits every rider. Tire width, rider and gear weight, road surface, and the tire-and-rim setup all affect the choice. Follow manufacturer guidance and ask a mechanic if you cannot identify a safe setting. Avoid treating a squeeze test as an accurate pressure measurement.
Check wheel security before every ride. For a thru-axle, follow the bicycle maker’s instructions. For a quick-release, make sure the wheel is fully seated and the lever closes with firm resistance. If you have not used the mechanism before, ask a mechanic to demonstrate it. A wheel that looks straight but is not retained correctly can still be dangerous.
After checking security, lift and spin one wheel at a time. Listen for rubbing and watch the gap between tire and frame or fork. A small variation may have different causes, but a wheel that is visibly loose, badly out of true, or rubbing after reseating needs inspection. Do not try to correct spoke tension without the right knowledge and tools.
How can you tell if the brakes need attention?
Test both brakes at walking speed in a safe, clear place before entering traffic or joining a group. Each should slow the bike smoothly and predictably. Stop and seek service if a lever pulls to the bar, braking feels weak, a wheel rubs, a component moves, or a new scraping sound appears.
Brake pads wear. A mechanic can check pad condition and alignment, cables or hydraulic components, and the rim or rotor. Do not rely on a quick glance if braking has changed. A quiet brake is not automatically a healthy one, and a sudden sound or change in lever feel merits attention. Keep lubricant and cleaning products away from braking surfaces.
When testing, apply each brake separately so you know both work. Keep the first test gentle and remain in a clear area. If the bicycle pulls sharply, makes an unfamiliar noise, or does not slow as expected, stop. Do not use a long group ride as a test run for a brake you already distrust.
What should you do for the chain and gears?
A clean, lightly lubricated chain can shift more smoothly than a dirty or dry one. If it looks grimy, wipe it with a clean rag and use bicycle chain lubricant according to its directions. Apply a small amount to the rollers while turning the pedals backward, then wipe away excess. Too much lubricant attracts dirt, and any lubricant on a brake surface can compromise braking.
Shift gently while pedaling. Repeated skipping, a chain that falls off, or a gear that will not engage may indicate wear or an adjustment problem. Do not force a shift or attempt a roadside repair without the right tools and understanding. Persistent drivetrain problems call for inspection. For a broader overview, see our charity ride bike maintenance guide.
If you have a chain-wear tool and know how to use it, periodic measurement can help you decide when a shop check is due. Otherwise, let a mechanic assess the chain and related components. Replacing a worn chain promptly can help avoid accelerated wear elsewhere, but the right diagnosis depends on the drivetrain and its condition.
Which checks can you do yourself, and when should you get help?
Basic visual inspection, tire inflation, and wiping a chain are manageable for many riders. Repairs involving steering, braking, wheel attachment, or structural parts require more care. Use the table as a decision aid, not as a substitute for manufacturer instructions or professional judgment.
| Check or symptom | Rider’s basic action | When to ask a mechanic |
|---|---|---|
| Low tire pressure | Inflate within the marked range and inspect the tire. | Pressure drops again, or a cut, bulge, or puncture is present. |
| Brake lever feel | Test both brakes while stationary and at walking speed. | Lever reaches the handlebar, braking is weak, or a part moves. |
| Gear shifting | Shift gently while turning the pedals. | Chain skips repeatedly, falls off, or gears will not engage. |
| Wheel security | Confirm the wheel is seated and axle secured as directed. | Wheel is loose, badly wobbles, or rubs after reseating. |
| Unusual noise | Stop and note whether it happens while pedaling, braking, or coasting. | Noise persists or seems to come from brakes, frame, or wheel. |
For event mechanical questions, use the ride and tech support contact page. Confirm current event details rather than assuming support can repair every issue. You can also review the DMV ride details before planning your day. For broader guidance on sharing the road safely, consult the National Highway Traffic Safety Administration bicycle safety guidance.
How should you time bike maintenance before a charity ride?
Do not leave all maintenance until the night before. If the bike has been stored for months, start early enough to arrange an inspection and address parts that need replacement. A test ride gives you time to discover fit discomfort, pressure loss, or shifting trouble before event morning.
- Several weeks ahead: Inspect the bike and arrange a shop check if it needs service. Replace worn parts early enough to test them.
- During training: Repeat the basic check. Keep notes about recurring noises, rubbing, or pressure loss, and practice only repairs you are comfortable performing.
- A few days ahead: Confirm the bike is working as expected after any service. Take a comfortable test ride and resolve changes rather than making unfamiliar adjustments late.
- The day before: Inflate tires, charge lights or electronic shifting where applicable, and pack essentials. Keep the bicycle indoors or in a secure place and avoid last-minute experiments.
- Before departure: Walk around the bike, test brakes, confirm wheel security, and take an easy spin in a safe location.
If you are building distance, our first 50-mile bike ride guide covers preparation beyond the bicycle. Riders preparing for longer distances can use the beginner 100-mile ride training guide as a separate training resource.
What should you carry for a roadside problem?
Pack items you know how to use. Common basics include a spare tube that fits your wheel, tire levers, a pump or compatible inflator, and a multi-tool suited to your bike. A patch kit may help if you have practiced with it. Bring any personal items you need and make sure you can access current route and event support information.
Before ride day, check that the tube size and valve match your wheel, the pump fits the valve, and the tools fit your bicycle. Practice a tube change at home. For example, remove and reinstall the wheel, use tire levers carefully, and inflate the replacement tube enough to seat it before fully inflating. Follow the instructions for your tire and rim. If you cannot complete the repair safely, do not improvise in a traffic lane.
On the road, move to a safe place away from traffic and follow event instructions. A supported ride may have mechanical support, but riders should check what is available, where it is located, and how to request help. Support does not replace a safe bicycle or the ability to communicate that you need assistance.
How do you decide whether to ride or pause?
Make the decision based on function, not on a desire to keep to a schedule. A cosmetic scuff may not affect operation, while a subtle brake or wheel problem can. Ask yourself whether both brakes work, both wheels are secure, tires hold pressure, steering feels normal, and the bike responds predictably.
If the answer to any safety question is no or uncertain, pause and seek help. Do not ride a bike with a cracked frame or fork, a loose wheel, unreliable braking, or a tire with exposed casing. For a minor issue you understand and can correct safely, make the adjustment according to the manufacturer’s directions and recheck the affected part. If the problem returns, stop and get it assessed.
For a longer charity ride, small concerns have more time to become disruptive. A short test ride on familiar ground is a useful final check, but it is not proof that every component will remain trouble-free. Carry a phone and the event’s support information, and tell your riding companions if you need to stop.
How can teams make bike checks easier?
A team can make preparation more consistent without turning it into a complicated inspection station. Ask each rider to arrive with time to check their own bicycle. One person can remind the group to check tires, brakes, wheel retention, and bags, but each rider should confirm their own equipment and report concerns honestly.
Agree on a simple process before event morning: set a meeting time, choose a safe place for checks, and identify how the group will contact one another if a rider needs assistance. Riders should not adjust another person’s brake or wheel unless they know the system and have permission. Instead, help find a mechanic or event staff member when a safety concern appears.
Teams with different experience levels can share practical knowledge without pressuring anyone to attempt a repair. One experienced rider may demonstrate how to use a pump or remove a wheel in advance. Keep the instruction specific to the equipment at hand, and encourage riders to consult the bicycle maker or a mechanic when details differ. For ride planning and event choices, explore our guide to choosing a charity bike ride.
Frequently asked questions
How often should I check my bike?
Do a quick tire, brake, wheel, and chain check before each ride. Arrange a more complete inspection when something changes, after substantial use, or as recommended for your bicycle’s components.
Should I lubricate a chain before every ride?
Not necessarily. Lubricate when the chain is dry or noisy, follow the product directions, and wipe away excess. Too much lubricant collects dirt and must stay clear of brake surfaces.
Can I ride if a brake is making noise?
A new or persistent brake noise should be checked, especially if braking feels different. Stop riding if braking is weak, a component is loose, or you cannot control the bike safely.
Does a supported ride mean I do not need to prepare?
No. Event support does not replace a safe, working bicycle or basic preparation. Review current ride information and know how to reach support before event day.
Choose your DMV ride and register
Ready to ride?
A steady maintenance routine helps you find small problems before they interrupt a ride. Inspect your bicycle, get help when a safety-critical part is uncertain, and review the current DMV ride information as you prepare.