

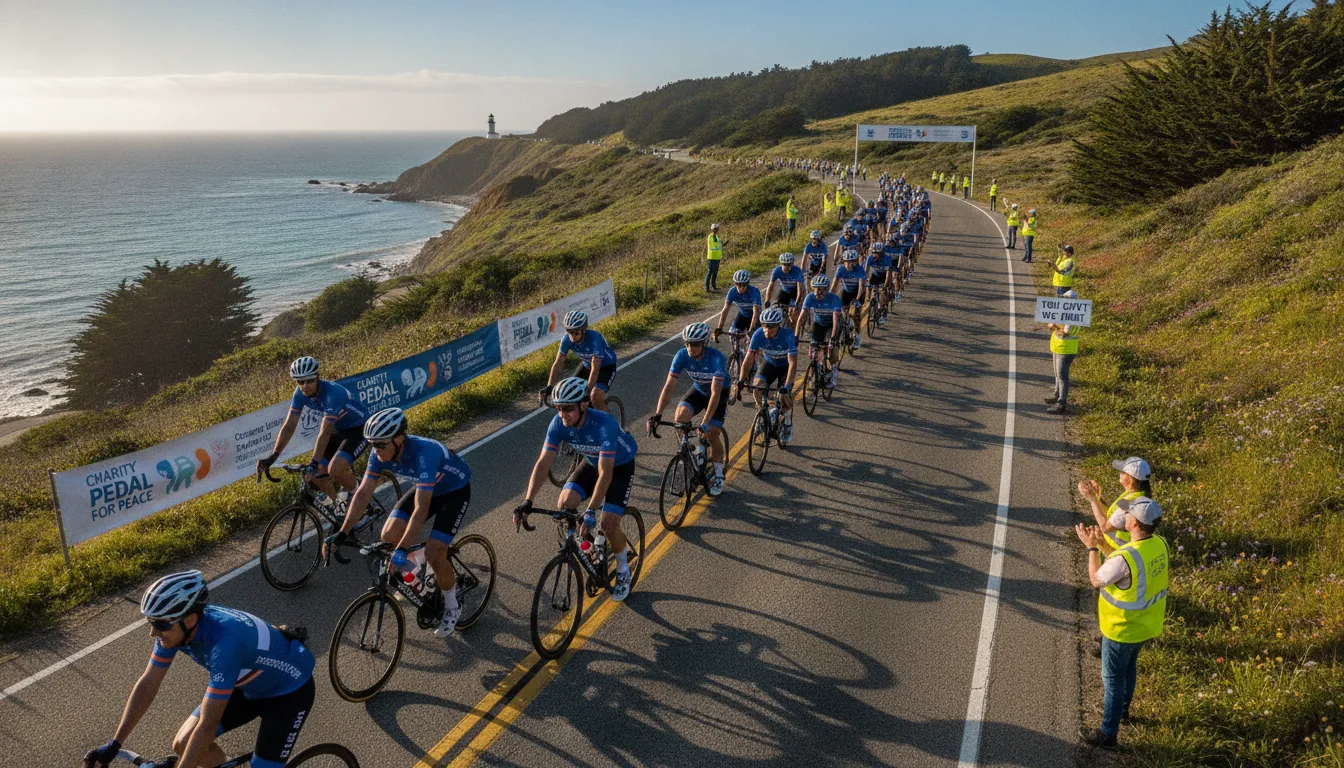
Group Bicycle Ride Safety Hand Signals and Etiquette Guide
Ready to master group bicycle ride safety hand signals? Learn essential cycling hand signals, paceline etiquette, and communication tips for safer group rides.
A single missed hand signal can cause a chain reaction crash in a tightly packed group of riders. Clear signaling is the only way to keep everyone safe during a big charity event.
Group bicycle ride safety hand signals are the most vital tool for keeping cyclists safe when they ride in a pack. These silent cues help riders share news about road holes, turns, and speed changes without needing to shout over the wind. Using standard motions for turns and stops allows every person in the line to react at the same time. This shared language is a key part of ride etiquette because it stops crashes and keeps the group moving smoothly. According to the League of American Bicyclists, clear signals help everyone on the road know where a bike is going next. Learning these signs makes the trip safer for you and the people riding behind you.
Contact Bike to the Beach today to register for your next fully supported charity ride
Every rider in a Bike to the Beach event should know how to lead and follow in a line. We have training resources to help you learn the moves you will need on ride day. Let us start with the signals every cyclist must know to stay safe in a group.
Group Bicycle Ride Safety Hand Signals: What Hand Signals Do Group Cyclists Use?
Safe group riding relies on clear talk between all riders. People at the back cannot see through the riders in front of them. Lead riders must point out hazards and plans. Following the League of American Bicyclists rules helps keep the group safe. These group bicycle ride safety hand signals ensure every person stays safe on the road.
| Signal. | Motion. | Meaning. |
|---|---|---|
| Left Turn | Left arm straight out to the side | Turning left or moving left |
| Right Turn | Right arm straight out, or left arm bent up at 90 degrees | Turning right or moving right |
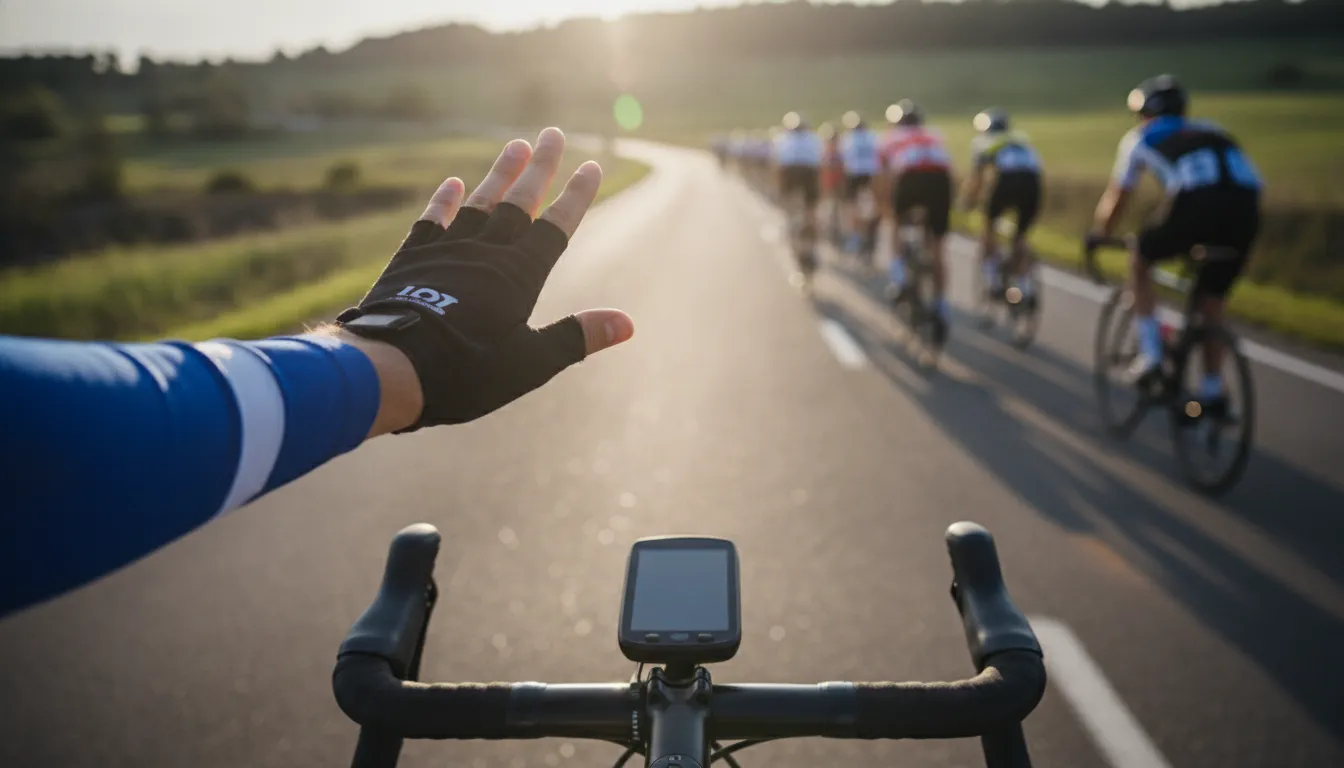
| Slowing | Open palm behind back with pulsing motion | Reducing speed gradually |
| Stopping | Left arm down with palm back, or hand raised above head | Coming to a full stop |
| Hazard | Point finger at the road feature | Pothole, rock, stick, or object |
| Debris | Palm facing ground with wiggling fingers | Loose gravel, glass, or sand |
| Bumps | Double pump of elbows | Train tracks or speed bumps ahead |
| Pull Through | Flick elbow outward | Ready to rotate off the front |
| Out of Saddle | Swing arm back like an elephant trunk | Standing up to pedal |
Basic Direction and Stop Signals
The most common signals show the group where you are going. To signal a left turn, put your left arm straight out to the side. For a right turn, you can put your right arm out. You can also bend your left arm up at a right angle. These moves help drivers and other riders know your path. According to Cycling UK, everyone in the group should repeat these signs. This passes the message all the way to the back.
Slowing and stopping are key to avoid crashes. You can signal a stop by putting your left arm down with your palm back. Some groups also raise a hand above their head to show they will stop. If you are just slowing down, use an open palm behind your back with a pulsing motion. This gives the rider behind you time to react. It helps them slow down without hitting their brakes too hard.
Hazard Alerts and Road Conditions
Road hazards are a big risk when riding close together. If you see a hole, rock, or stick, point at it with your finger. For loose dirt like gravel, glass, or sand, hold your palm to the ground and wiggle your fingers. These alerts give others a chance to move safely. You should also check out our cycling training resources to learn more. These tools help you handle road features during a long ride.
Handling Bumps and Tracks
Some hazards cover the whole road, like train tracks or speed bumps. In these cases, a double pump of the elbows warns the group of a jolt. If you plan to stand up on your pedals, swing your arm back. This tells the person behind you that your bike might kick back a bit as you change. Clear signs like these prevent wheel overlap. Overlap is a top cause of falls when riding in a line.
Group Flow and Lane Position
Keeping the flow of a group needs special signs for turns and space. When you are done leading and want to move, flick your elbow out. This signal tells the next rider to take the lead. You should also use your hand to show how many riders can fit side by side on the road. For example, holding up one or two fingers helps the group stay in a safe spot when the road gets thin.
Finally, always signal when you need to change your spot in the line. Use a hand behind your back to wave someone through or show a need to move over. Good talk is a team effort that makes every Bike to the Beach DMV ride safe and fun. Using these standard signs builds a culture of safety that protects the whole group.
How Do You Communicate Verbally in a Group Ride?
Hand signals are the first step in group riding, but they are not enough on their own. In a fast-moving paceline, your voice is just as vital as your hands. While hand signals form the core of safe cycling habits, verbal calls fill in the gaps. They ensure every rider knows what is happening, even when they cannot see the leader’s hands. Clear speech helps keep the group tight and safe.
Key Calls for the Group
Cyclists use short terms to alert others to hazards or traffic. The most common calls are about cars. When a vehicle is in front, the lead riders call out “Car up.” If a car is coming from behind. The last riders shout “Car back.” These simple phrases tell everyone where to look and how to move. Other key calls include “Car left” or “Car right” at street corners. You should also tell riders when you are passing them by shouting “On your left.”
Movement calls are also key for group safety. When the group needs to slow down or halt, riders call “Stopping.” If you are nearing a clear crossroad, you might hear “Clear” from the riders ahead. These calls must be loud and clear so the whole group hears them. You can find more tips on event safety in the frequently asked questions about Bike to the Beach. Using these calls helps prevent sudden moves that could cause a crash.
The Chain of Talking
Safety in a group is a shared task. Signals and calls are not just for the leaders. Every rider must pass the message along the line. When the front rider points to a pothole or calls “Car up,” the next rider must do the same. This chain continues until the message reaches the very back. The same rule applies to messages moving from the back to the front, such as “Car back.”
Riders at the rear have a special job. They are the eyes for the group for traffic from behind. They must always call out when a car is about to pass. This gives the riders in front time to check their place and stay safe. By passing every call, the group stays aware of its area at all times.
Shared Duty on the Road
Group riding works best when everyone follows the same rules. Before you start a ride, talk to your group. Hand signals can vary by region or even by local clubs. It is best to check which signals you will use before you set off. This prevents mistakes when you are on the road and need to react fast.
Unity is also about effort. Many groups follow the 75% rule. This means you should ride at no more than 75% of your max effort. Doing so helps you stay alert and keeps the group together. When everyone stays within this limit, they have the energy to focus on calls and safety. This shared approach makes the ride better for every person in the pack.
Paceline Etiquette and Drafting Safety
The Gains of Drafting
Riding in a group is not just for social fun. It is a way to save power and move at a higher speed. When you ride close behind another person, you are drafting. This move cuts drag by 30 to 40 percent. By cutting the wind for each other, a group can boost its pace by 2 to 5 mph without using more effort.
Drafting allows the group to travel further with less fatigue. This is vital for long rides like those at Bike to the Beach. When riders work together, they can keep a strong pace for miles. This teamwork makes the ride better for people with some skill levels. It also helps the group reach the finish line together as a team.
Safe Paceline Lines
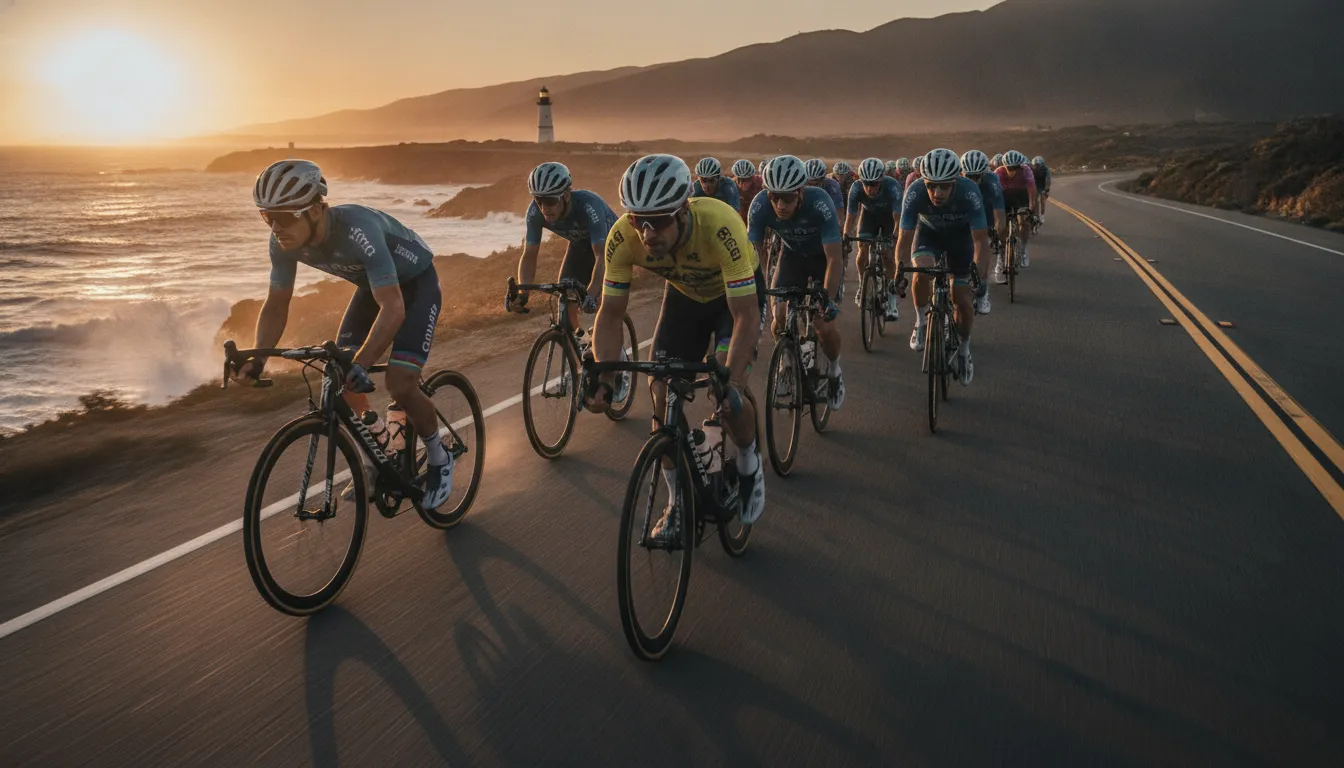
A paceline is a line of riders who take turns at the front. In a single paceline, everyone stays in one long row. A double paceline uses two rows side by side. This setup is common on wide roads and quiet paths. It cuts wind drag by about 20 to 30 percent compared to riding alone. Whether you are in one or two rows, you must stay alert at all times.
Riders should stay close to each other but leave enough room for safety. The goal is to create a smooth flow of motion. Each person in the line acts like a link in a chain. If one person moves in a jerky way, it affects everyone behind them. Keeping a tight form helps the whole group stay safe from wind and traffic.
Rules for the Road
To stay safe in a group, you should use the 75% rule. This means you ride at no more than 75% of your max effort. This buffer helps you react to changes and keeps the group together. You can check our cycling training tools to learn more about ride prep. Never overlap your front wheel with the rear wheel of the person in front. This is one of the most unsafe things you can do.
Avoid sudden braking whenever you can. If you need to slow down, sit up and let the wind hit your chest. This move slows you down without the risk of a hit from behind. Clear calls are a shared duty for all riders. You must pass signals from the front to the back so everyone knows what is coming.
- Maintain a steady speed. Do not surge or slow down fast. This helps the riders behind you stay safe and save their strength for the long ride.
- Watch the wheel ahead. Do not stare at the ground or your phone. Keep your eyes on the person in front and the road ahead to spot any changes.
- Signal your pull-through. When you are tired, flick your elbow to show you are ready to rotate off the front. This tells the next rider to lead.
- Rotate with care. When you pull off the front, keep your speed up. Move to the side and drift to the back of the line with a smooth, calm motion.
- Point out hazards early. The riders behind you cannot see through you. Use safety hand signals to show where holes, rocks, or debris are on the road.
How Should You Prepare for Your First Charity Group Ride?
Bike to the Beach offers a fun way to help local families through supported bike rides. You can pick from many routes to find the one that fits your skill level. Every event has support cars and rest stops to keep you safe on the road. Getting ready for your first ride means more than just strong legs. It also means being ready to ride with a group.
Support on the Road
One of the best parts of a charity ride is the help you get from the team. Bike to the Beach provides support cars and tools to fix bikes at every event. You will also find rest stops along the way to refuel and take a break. This help lets you focus on the ride and your goal to help people with autism and other disABILITIES.
Training and Community
Getting ready for a big ride takes time and work. You should use the cycling training tools to build your strength before the big day. While some guides offer 12-week training plans, group rides are a bit different. Meeting your team early can help you feel more at ease before you start your trip to the beach.
- Pick your distance. Choose a route that fits your fitness level and your goals for the day. Bike to the Beach offers routes from Florida to New England.
- Learn the signals. Master group bicycle ride safety hand signals to let others know when you see a hole in the road.
- Check your gear. Make sure your bike works well and you have the right clothes for the weather.
- Start fundraising. Use the B2B fundraising resources to meet your goal and support local groups.
- Join a local event. Sign up for the Bike to the Beach DMV ride, the Florida ride, or the New England ride to get started.
Safe riding starts with clear talk between riders. The League of American Bicyclists offers a guide on signaling and scanning to help you stay safe. It is your duty to point out hazards so the person behind you can see them. Using clear hand signals keeps the whole group safe and moving well. This makes the ride better for everyone and helps you reach the finish line with a smile.
Group Riding Safety Tips for All Levels
Safe group riding relies on clear communication and predictable moves. Every rider shares the duty to keep the pack safe. Before you start, clarify hand signals with your group to ensure everyone uses the same cues. This is vital because 81 percent of cyclist deaths in 2023 occurred in urban areas, based on data from the National Highway Traffic Safety Administration.
Maintain Safe Spacing and Focus
One of the most vital rules in a paceline is to never overlap wheels with the person in front of you. This is a common cause of crashes because any small move can lead to a fall. Aim for a gap of half a wheel to a full wheel length to stay safe but efficient. Riding in a group is helpful as it can cut wind drag by up to 40 percent.
Scanning the road is also key for your safety. Look past the rider in front of you to see what is coming up. You should also check behind you before you change your spot in the line. Stay relaxed but keep your focus on the road and the riders around you.
Communicate Early and Clearly
You must call out or point to road hazards like potholes or glass as soon as you see them. The people behind you cannot see through you, so they need your help to avoid risks. Use both group bicycle ride safety hand signals and verbal calls like “pothole right” or “gravel.”
Riders at the back have a special job too. They must tell the group when cars are coming from behind by calling out “car back.” Passing these messages from front to back and back to front keeps the whole pack aware of the world around them. For more help with ride prep, check out these cycling training resources.
Know Your Limits
Ride within your skill and fitness level to keep the group tight and safe. A good rule is to ride at no more than 75 percent of your total effort so you have energy left to react to changes. If you feel tired or need to pull out, tell a ride leader or the person next to you before you slow down.
If you get dropped, do not panic. It is better to ride at your own pace than to push too hard and lose focus. Many charity rides have support vehicles to help if you cannot finish the route. Knowing when to rest helps you stay safe and enjoy the ride to the end.
Frequently Asked Questions
What is the 75 percent rule for group cycling?
The 75 percent rule helps a group stay together and ride safely. It tells you to use only about 75 percent of your total strength during the ride. This way leaves you with enough power to deal with dangers or help other riders. According to TrainerRoad, staying below your limit makes sure the group pace stays steady. It stops the group from breaking apart and keeps all riders safe during the event.
What does it mean when a cyclist points two fingers down?
When a cyclist points two fingers down, they are telling you about a danger on the road. This sign often means there is a pothole, rock, or trash on that side of the path. It tells riders behind them to move over or be careful. According to The Black Foxes, pointing out these road spots early is a key part of group safety. This helps stop crashes and keeps the whole line moving smoothly and safely.
How do you signal a stop during a group bike ride?
To show a stop, you can put your open palm behind your back. This sign tells the riders behind you that you are slowing down or coming to a full stop. You can also raise your hand above your head to show a stop. According to Cycling UK, clear signs are a must so that people do not crash into each other. Always use these signs early to give others time to react and stop safely.
What is the proper way to move off the front of a cycling paceline?
When it is time to move off the front of a paceline, you should first flick your elbow. This sign tells the riders behind you that you are pulling off to the side. Keep your speed steady as you move out of the line and then drift back slowly to the end of the group. According to TrainerRoad, smooth moves help the whole group keep their pace. This way, the ride stays safe and easy for all cyclists.
What support services does Bike to the Beach offer for riders?
Bike to the Beach gives many services to keep riders safe and happy. Each ride is fully supported with rest stops and food. There are also SAG vehicles that can help you if you get tired or have bike issues. According to Bike to the Beach, they also provide mechanical help on the route. These tools make sure that both new and expert riders can enjoy the day while they raise funds for charity.
Ready to sign up for a Bike to the Beach ride?
Cycling in a group is a fun way to see the miles fly by, but you must know the rules to stay safe. If you wait, you might not feel ready when the pack speeds up on the ride day. Use our training tips now to build trust and help you reach the beach with ease. The cost of doing nothing is missing out on a day of local impact and fun with a great team. By acting today, you make sure that you will be fit and ready for the sand when the ride kicks off.
Ready to ride? Contact the Bike to the Beach team to register for a Bike to the Beach charity ride.